
편집기능을 구현하기 위해 인자로 받은 노트정보를 화면에 반영해야한다.
NotePageArgs args = ModalRoute.of(context)!.settings.arguments as NotePageArgs;
Note note = args.note;
- page/note_edit_page.dart
import 'dart:developer';

import 'package:flutter/cupertino.dart';
import 'package:flutter/material.dart';
import 'package:sticky_notes/data/note.dart';
import 'package:sticky_notes/page/note_page_args.dart';
import 'package:sticky_notes/providers.dart';

class NoteEditPage extends StatefulWidget {
  static const rootName = '/edit';

  @override
  State createState() => _NoteEditPageState();
}

class _NoteEditPageState extends State<NoteEditPage> {
  GlobalKey<ScaffoldState> scaffoldKey = GlobalKey<ScaffoldState>();

  TextEditingController titleController = new TextEditingController();

  TextEditingController bodyController = new TextEditingController();

  late Color color = Note.colorDefault;

  @override
  Widget build(BuildContext context) {
    NotePageArgs? args =
        ModalRoute.of(context)?.settings.arguments as NotePageArgs?;

    if (args != null) {
      Note note = args.note;
      titleController.text = note.title;
      bodyController.text = note.body;
      color = note.color;
    }

    return Scaffold(
      key: scaffoldKey,
      appBar: AppBar(
        title: Text('노트 편집'),
        actions: [
          IconButton(
              icon: Icon(Icons.color_lens),
              tooltip: '배경색 선택',
              onPressed: _displayColorSelectDialog),
          IconButton(
            icon: Icon(Icons.save),
            tooltip: '저장',
            onPressed: _saveNote,
          )
        ],
      ),
      body: SizedBox.expand(
        child: Container(
          color: color,
          child: SingleChildScrollView(
            padding: EdgeInsets.symmetric(horizontal: 12.0, vertical: 16.0),
            child: Column(
              mainAxisSize: MainAxisSize.min,
              children: [
                TextField(
                  controller: titleController,
                  decoration: InputDecoration(
                      border: OutlineInputBorder(), labelText: '제목 입력'),
                  maxLines: 1,
                  style: TextStyle(fontSize: 20.0),
                ),
                SizedBox(height: 8.0),
                TextField(
                  controller: bodyController,
                  decoration: InputDecoration(
                    border: InputBorder.none,
                    hintText: '노트 입력',
                  ),
                  maxLines: null,
                  keyboardType: TextInputType.multiline,
                )
              ],
            ),
          ),
        ),
      ),
    );
  }

  void _displayColorSelectDialog() {
    FocusManager.instance.primaryFocus?.unfocus();

    showDialog(
        context: context,
        builder: (context) {
          return AlertDialog(
            title: Text('배경색 선택'),
            content: Column(
              mainAxisSize: MainAxisSize.min,
              children: [
                ListTile(
                  title: Text('없음'),
                  onTap: () => _applyColor(Note.colorDefault),
                ),
                ListTile(
                  leading: CircleAvatar(
                    backgroundColor: Note.colorRed,
                  ),
                  title: Text('빨간색'),
                  onTap: () => _applyColor(Note.colorRed),
                ),
                ListTile(
                  leading: CircleAvatar(
                    backgroundColor: Note.colorOrange,
                  ),
                  title: Text('오렌지'),
                  onTap: () => _applyColor(Note.colorOrange),
                ),
                ListTile(
                  leading: CircleAvatar(
                    backgroundColor: Note.colorYellow,
                  ),
                  title: Text('노란색'),
                  onTap: () => _applyColor(Note.colorYellow),
                ),
                ListTile(
                  leading: CircleAvatar(
                    backgroundColor: Note.colorLime,
                  ),
                  title: Text('연두색'),
                  onTap: () => _applyColor(Note.colorLime),
                ),
                ListTile(
                  leading: CircleAvatar(
                    backgroundColor: Note.colorBlue,
                  ),
                  title: Text('파란색'),
                  onTap: () => _applyColor(Note.colorBlue),
                )
              ],
            ),
          );
        });
  }

  void _applyColor(Color newColor) {
    setState(() {
      Navigator.pop(context);
      color = newColor;
    });
  }

  void _saveNote() {
    String title = titleController.text;
    String body = bodyController.text;
    if (body.isNotEmpty) {
      NotePageArgs? args =
          ModalRoute.of(context)?.settings.arguments as NotePageArgs?;
      if (args != null) {
        noteManager().updateNote(args.index, body, title: title, color: color);
      } else {
        noteManager().addNote(Note(
          body,
          title: title,
          color: color,
        ));
      }

      Navigator.pop(context);
    } else {
      ScaffoldMessenger.of(context).showSnackBar(SnackBar(
        content: Text('노트를 입력하세요.'),
        behavior: SnackBarBehavior.floating,
      ));
    }
  }
}

이제 카드를 누르면 편집화면으로 넘어가게끔 구현한다.
이때 사용할 위젯은 InkWell
List<Widget> _buildCards() {
List<Note> notes = noteManager().listNotes();
return List.generate(
notes.length, (index) => _buildcard(index, notes[index]));
}
Widget _buildcard(int index, Note note) {
return InkWell(
onTap: () {
Navigator.pushNamed(context, NoteViewPage.rootName, arguments: NotePageArgs(index, note)).then((value) {
setState(() {
});
});
},
child: Card(
color: note.color,
child: Padding(
padding: const EdgeInsets.all(12.0),
child: Column(
mainAxisSize: MainAxisSize.min,
crossAxisAlignment: CrossAxisAlignment.start,
children: [
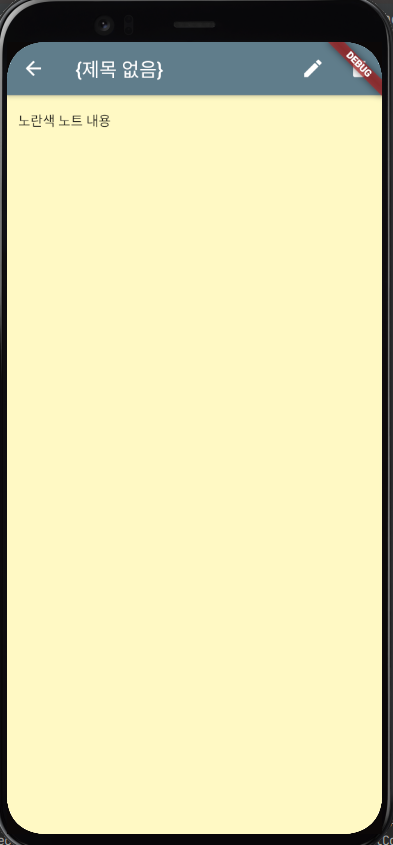
Text(note.title.isEmpty ? '{제목 없음}' : note.title,
style: TextStyle(fontSize: 18.0, fontWeight: FontWeight.bold)),
SizedBox(
height: 16.0,
),
Expanded(child: Text(note.body, overflow: TextOverflow.fade)),
],
),
),
),
);
}
문제는 이대로면 저장하기시 화면 갱신이 안된다.
몇가지 변경해야한다.
- page/note_edit_page.dart에서 isEdited 추가
노트 편집화면에서 색상 변경할 경우 원래대로 되돌아가는 문제가 발생하므로 이를 방지한다.
bool isEdited = false;

@override
  Widget build(BuildContext context) {
    NotePageArgs? args =
        ModalRoute.of(context)?.settings.arguments as NotePageArgs?;

    if (args != null && !isEdited) {
      Note note = args.note;
      titleController.text = note.title;
      bodyController.text = note.body;
      color = note.color;
    }

...

								TextField(
                  controller: titleController,
                  decoration: InputDecoration(
                      border: OutlineInputBorder(), labelText: '제목 입력'),
                  maxLines: 1,
                  style: TextStyle(fontSize: 20.0),
                  onChanged: (text) {
                    isEdited = true;
                  },
                ),

...

								TextField(
                  controller: bodyController,
                  decoration: InputDecoration(
                    border: InputBorder.none,
                    hintText: '노트 입력',
                  ),
                  maxLines: null,
                  keyboardType: TextInputType.multiline,
                  onChanged: (text) {
                    isEdited = true;
                  },
                )

...

	void _applyColor(Color newColor) {
    setState(() {
      Navigator.pop(context);
      color = newColor;
      isEdited = true;
    });
  }
- page/note_view_page.dart에서
void _edit(NotePageArgs args) {
    Navigator.pushNamed(context, NoteEditPage.rootName, arguments: args).then((value) => {
      setState(() {})
    });
  }


Uploaded by Notion2Tistory v1.1.0